- 1 课程回顾
- 2 概述
- 3 mbsync的安装和配置
- 4 notmuch安装配置
- 4.1 notmuch安装
- 4.2 notmuch配置
- 4.3 notmuch自动打标签的hook
- 4.4 notmuch在命令行的使用
- 4.5 notmuch在Emacs里的配置
- 5 msmtp发送邮件设置
- 5.1 安装配置msmtp
- 5.2 在Emacs里的发送邮件设置
- 6 notmuch在Emacs里的使用
- 7 结语
1 课程回顾 🔗
我们在上节课学习了如何在Emacs的Dired模式里,对系统里的文件进行管理,包括复制、粘贴、剪切、创建、改名、批量处理等常用操作,基本上学习了这些就可以抛弃掉系统的文件管理器在Emacs里对文件进行管理了,利用Emacs强大的搜索、补全机制能让文件管理变得异常高效。
今天我们学习如何在Emacs里处理邮件。
2 概述 🔗
在Emacs里处理邮件有很多种方法,比较知名的有 Gnus、MU4E、 notmuch 等,而后两者都需要本地 maildir 类软件的支持,先将邮件都下载到本地。
在Emacs里处理邮件,配置过程稍显复杂,需要的依赖和其他工具较多,但当我们一步一步配置完开始用后,你就会发现在Emacs里处理邮件的好处——依托于Emacs强大的搜索、补全机制,让邮件的处理异常高效。
maildir类软件知名的有 offlineimap、mbsync 等,我比较倾向于使用 mbsync 。
发送邮件可以使用Emacs自带的 smtpmail 包,或者 msmtp ,这里我倾向于使用 msmtp 。
下面我将通过 Emacs + mbsync + notmuch + msmtp 的组合,来讲解如何在Emacs里处理邮件。
3 mbsync的安装和配置 🔗
mbsync 软件的作用是通过 IMAP 协议,将邮件服务器上的邮件都同步下载到本地。我们先来安装它。
3.1 mbsync安装 🔗
brew install isync
isync是项目名称,mbsync是可执行程序的名称,实际上在这里指代的是一个东西。
3.2 mbsync配置 🔗
我们安装完 mbsync 后,需要进行配置,把邮箱的信息配置上去,配置文件放在了 ~/.mbsyncrc 这个文本文件里,我们以 126 邮箱为例:
# for 126
# =============
IMAPAccount 126
Host imap.126.com
User xxxxxxxxxx@126.com
PassCmd "gpg -q --for-your-eyes-only --no-tty -d ~/.authinfo.gpg | awk '/machine imap.126.com login xxxxxxxxxx@126.com/ {print $6}'"
AuthMechs LOGIN
SSLType IMAPS
CertificateFile /usr/local/etc/ca-certificates/cert.pem

IMAPStore 126-remote
Account 126

MaildirStore 126-local
Path ~/Mail/126/
Inbox ~/Mail/126/INBOX

Channel 126-inbox
Far :126-remote:
Near :126-local:
Patterns "INBOX"
Create Both
Expunge Both
SyncState *

Channel 126-sent
Far :126-remote:"&XfJT0ZAB-"
Near :126-local:"Sent"
Create Both
Expunge Both
SyncState *

Channel 126-trash
Far :126-remote:"&XfJSIJZk-"
Near :126-local:"Trash"
Create Both
Expunge Both
SyncState *

Channel 126-drafts
Far :126-remote:"&g0l6P3ux-"
Near :126-local:"Drafts"
Create Both
Expunge Both
SyncState *

Group 126
Channel 126-inbox
Channel 126-sent
Channel 126-trash
Channel 126-drafts
- 上面的邮箱
xxxxxxxxxx@126.com需要改成自己的邮箱;- 假设
xxxxxxxxxx@126.com的邮箱密码存放在了~/.authinfo.gpg文件里,如何存放在这个文件的方法可以Google一下;- 如果没有采用第2条的密码存放方式,也可以将
PassCmd行替换成Pass <your IMAP password>将密码以明文的方式写在~/.mbsyncrc文件里;- Linux和MacOS的
CertificateFile的路径不一样,上面的示例配置是以MacOS为环境(需要通过 brew 安装ca-certificates包,Linux的路径为:/etc/ssl/certs/ca-certificates.crt;- 126、Gmail等众多邮箱的密码,都需要使用应用密码而不是登录密码,具体应用密码的生成方式参照邮箱供应商的相关说明;
- 假设所有同步到本地的邮件都存放在
- 126等国内邮箱的目录是中文,
mbsync在同步的时候需要拿到中文目录对应的编码,过程如下:
- 在终端,输入
openssl s_client -connect imap.126.com:993 -crlf;- 输入
a login [username] [password],这里的[username]和[password]是你的邮箱账户和应用密码;- 输入
a LIST "" "*"命令查看服务端文件夹信息。
126邮箱的中文目录信息如下:
a LIST "" "*"
* LIST () "/" "INBOX"
* LIST (\Drafts) "/" "&g0l6P3ux-"
* LIST (\Sent) "/" "&XfJT0ZAB-"
* LIST (\Trash) "/" "&XfJSIJZk-"
* LIST (\Junk) "/" "&V4NXPpCuTvY-"
* LIST () "/" "&Xn9USpCuTvY-"
* LIST () "/" "&i6KWBZCuTvY-"
* LIST () "/" "&aGNoSA-"
a OK LIST Completed
3.3 mbsync运行 🔗
配置完 mbsync 后,我们只需要简单的执行 mbsync -a 就可以同步远程邮箱里的邮件了。
我们可以通过下面的命令来开启 isync 的服务,让它自动隔一段时间运行(默认每隔5分钟执行一次),这样每隔5分钟就能收到最新的邮件啦!
brew services start isync
4 notmuch安装配置 🔗
notmuch 是一个非常棒的邮件程序,他能够提供高效的搜索、打标签等功能,简洁易用,跟Emacs结合的也很棒。
4.1 notmuch安装 🔗
安装非常简单:
brew install notmuch
4.2 notmuch配置 🔗
notmuch 的配置文件默认在 ~/.notmuch-config 里,我们来配置它:
# .notmuch-config - Configuration file for the notmuch mail system

[database]
path=Mail

# User configuration
[user]
name=Randolph
primary_email=xxxxxxxxxx@126.com
other_email=xxxxxxxxxx@yahoo.com
other_email=xxxxxxxxxx@gmail.com

[new]
tags=new

[search]
exclude_tags=spam;junk

[maildir]
synchronize_flags=true
4.3 notmuch自动打标签的hook 🔗
notmuch 使用的是标签体系,所有的邮件都有标签,比如刚收到的新邮件的标签是 new ,我们可以对收到新邮件后加上一个 hook 操作,让 notmuch 按照我们的需要自动的打上标签。这个 hook 的配置文件在 ~/Mail/.notmuch/hooks/post-new 里:
# =====================================================
# post-new --- Notmuch rules that run after notmuch new
# The order of those commands matters.
# =====================================================

# remove "unread" from "replied"
/usr/local/bin/notmuch tag -unread -new -- tag:replied

# tag all "new" messages "inbox" and "unread"
/usr/local/bin/notmuch tag +inbox +unread -new -- tag:new

# tag my replies as "sent"
/usr/local/bin/notmuch tag -new -unread +inbox +sent -- '(from:"/xxxxxxxxxx@.*/" not to:"/xxxxxxxxx@.*/" not tag:archived)'
4.4 notmuch在命令行的使用 🔗
我们配置完 notmuch 后,只需要执行 notmuch new 命令对所有的邮件建立索引即可。
如果要让
notmuch支持中文的搜索,需要在~/.zshrc里添加export XAPIAN_CJK_NGRAM=1的环境变量配置。
常用的命令行 notmuch 命令如下,具体参照官方文档:
- notmuch new [options]
- notmuch search [option …] <search-term> …
- notmuch tag [option …] +<tag>|-<tag> [–] <search-term> …
为了让 notmuch 及时的索引通过 mbsync 收到的新邮件,我这里使用 crontab 写了一个定时操作的脚本,让 notmuch 每隔2分钟执行一次 notmuch new 的操作:
*/2 * * * * /Users/randolph/bin/notmuchnew.sh >> /Users/randolph/log/notmuchnew.job.out 2>&1
其中 notmuchnew.sh 的内容如下:
#!/bin/sh
/bin/date
/usr/local/bin/notmuch new
这应该不是最优美的办法,但可以解决问题,我暂时没有找到更好的方法。
offlineimap比较好的一点是可以通过posthook的机制来写一个 hook 的脚本让收到邮件后执行,找了下notmuch相关的文档好像没有这个机制,Linux要更方便一些,可以通过systemd来写这个 hook。
4.5 notmuch在Emacs里的配置 🔗
我们完成了命令行 notmuch 相关的配置后,需要继续在Emacs里配置它:
(use-package ol-notmuch
:ensure t
)
(use-package notmuch
:ensure t
:commands notmuch
:hook ((window-setup . notmuch)
(notmuch-hello-refresh . notmuch-unread-count))
:bind (("\e\em" . notmuch)
("C-x m" . notmuch-mua-new-mail) ; override `compose mail'
:map notmuch-hello-mode-map
("q" . quit-window)
:map notmuch-show-mode-map
("C-c f" . my/capture-mail-follow-up)
("C-c r" . my/capture-mail-read-later)
:map notmuch-search-mode-map
("/" . notmuch-search-filter)
("C-c f" . my/capture-mail-follow-up))
:init
(setq notmuch-search-oldest-first nil) ; newest on the top
:config
;; 设置notmuch邮件快速记录的模板
(require 'org-capture)
(add-to-list 'org-capture-templates
'("e" "Email follow up" entry
(file+headline "mail.org" "Follow Up")
"* TODO [#A] %:subject :mail:\nSCHEDULED: %t\nDEADLINE: %(org-insert-time-stamp (org-read-date nil t \"+2d\"))\n\n%a%?"
:empty-lines-after 1
:prepend t
:immediate-finish t
:jump-to-captured t
))
(add-to-list 'org-capture-templates-contexts
'("e" ((in-mode . "notmuch-search-mode")
(in-mode . "notmuch-show-mode"))))
;; 在邮件界面快速记录需要跟进的邮件
(defun my/capture-mail-follow-up ()
(interactive)
(call-interactively 'org-store-link)
(org-capture nil "e"))
;; custom UI
(setq notmuch-show-logo t)
(setq notmuch-column-control 1.0)
(setq notmuch-hello-recent-searches-max 20)
(setq notmuch-hello-thousands-separator ",")
(setq notmuch-hello-sections '(notmuch-hello-insert-header
notmuch-hello-insert-saved-searches
notmuch-hello-insert-alltags
notmuch-hello-insert-footer))
(setq notmuch-show-all-tags-list t)
;; set saved searches, use `j' to jump to the search
(setq notmuch-saved-searches '(
(:name "all"
:query "*"
:sort-order newest-first
:key "l")
(:name "archived"
:query "tag:archived"
:sort-order newest-first
:key "A")
(:name "inbox"
:query "tag:inbox"
:sort-order newest-first
:key "i")
(:name "sent"
:query "tag:sent"
:sort-order newest-first
:key "s")
))
(setq notmuch-archive-tags '("-inbox" "+archived"))
;; Email composition
(setq notmuch-mua-user-agent-function #'notmuch-mua-user-agent-full)
;; Reading messages
(setq notmuch-wash-citation-lines-prefix 6) ; default is 3
(setq notmuch-wash-citation-lines-suffix 6)
(setq notmuch-unthreaded-show-out nil)
(setq notmuch-message-headers '("To" "Cc" "Subject" "Date"))
;; notmuch notifications on mode-line based from notmuch-unread-mode, refer to:
;; https://www.reddit.com/r/emacs/comments/esxjh5/my_notmuch_email_count_display_in_modeline/
(defvar notmuch-unread-mode-line-string "")
(defvar notmuch-unread-email-count nil)
(defconst my-mode-line-map (make-sparse-keymap))
(defun notmuch-unread-count ()
(setq notmuch-unread-email-count (string-to-number (replace-regexp-in-string "\n" "" (notmuch-command-to-string "count" "tag:unread"))))
(if (eq notmuch-unread-email-count 0)
(setq notmuch-unread-mode-line-string (format " 0 "))
(setq notmuch-unread-mode-line-string (format " %d " notmuch-unread-email-count)))
(force-mode-line-update))
(defun notmuch-open-emails ()
(interactive)
(if (eq notmuch-unread-email-count 0) (notmuch-search "tag:inbox") (notmuch-search "tag:unread")))
(setq global-mode-string
(append global-mode-string (list '(:eval (propertize notmuch-unread-mode-line-string 'help-echo "notmuch emails" 'mouse-face 'mode-line-highlight 'local-map my-mode-line-map)))))
(define-key my-mode-line-map
(vconcat [mode-line down-mouse-1])
(cons "hello" 'notmuch-open-emails))
;; 每三分钟刷新一下notmuch,在刷新的时候会执行 `notmuch-unread-count' hook
;; 来执行状态栏的邮件数量更新
(run-at-time t 180 #'notmuch-refresh-all-buffers)
)
5 msmtp发送邮件设置 🔗
5.1 安装配置msmtp 🔗
首先我们安装 msmtp :
brew install msmtp
msmtp 的默认配置文件在 ~/.msmtprc 文件:
# Set default values for all following accounts.
defaults
auth on
protocol smtp
tls on
tls_trust_file /usr/local/etc/ca-certificates/cert.pem

# for account 126
account 126
host smtp.126.com
port 465
user yourname
from yourname@126.com
passwordeval "gpg -q --for-your-eyes-only --no-tty -d ~/.authinfo.gpg | awk '/machine imap.126.com login yourname@126.com/ {print $6}'"

# for account yahoo
account yahoo
tls_starttls off
host smtp.mail.yahoo.com
user yourname
from yourname@yahoo.com
passwordeval "gpg -q --for-your-eyes-only --no-tty -d ~/.authinfo.gpg | awk '/machine imap.mail.yahoo.com login yourname@yahoo.com/ {print $6}'"

account default: 126
5.2 在Emacs里的发送邮件设置 🔗
(use-package message
  :ensure nil
  :hook ((message-mode . auto-fill-mode)
         (message-mode . (lambda () (display-line-numbers-mode 0)))
         (message-mode . turn-on-orgtbl)
         )
  ;; :bind (:map message-mode-map ("TAB" . message-display-abbrev))
  :config
  ;; add Cc and Bcc headers to the message buffer
  (setq message-default-mail-headers "Cc: \nBcc: \n")
  ;; change the directory to store the sent mail and mkdir sent ahead
  (setq message-directory "~/Mail/")
  (setq message-auto-save-directory "~/Mail/drafts/")
  :custom
  ;; make sure `user-full-name' and `user-mail-address' are configed
  (message-kill-buffer-on-exit t)
  (message-mail-alias-type 'ecomplete)
  (message-send-mail-function #'message-use-send-mail-function)
  (message-signature (concat "Best regards,\n" user-full-name))
  )

(use-package sendmail
  :ensure nil
  :defer t
  :custom
  (send-mail-function 'sendmail-send-it)
  ;; msmtp config
  (sendmail-program "/usr/local/bin/msmtp")
  (mail-specify-envelope-from t)
  (message-sendmail-envelope-from 'header)
  (mail-envelope-from 'header)
  )
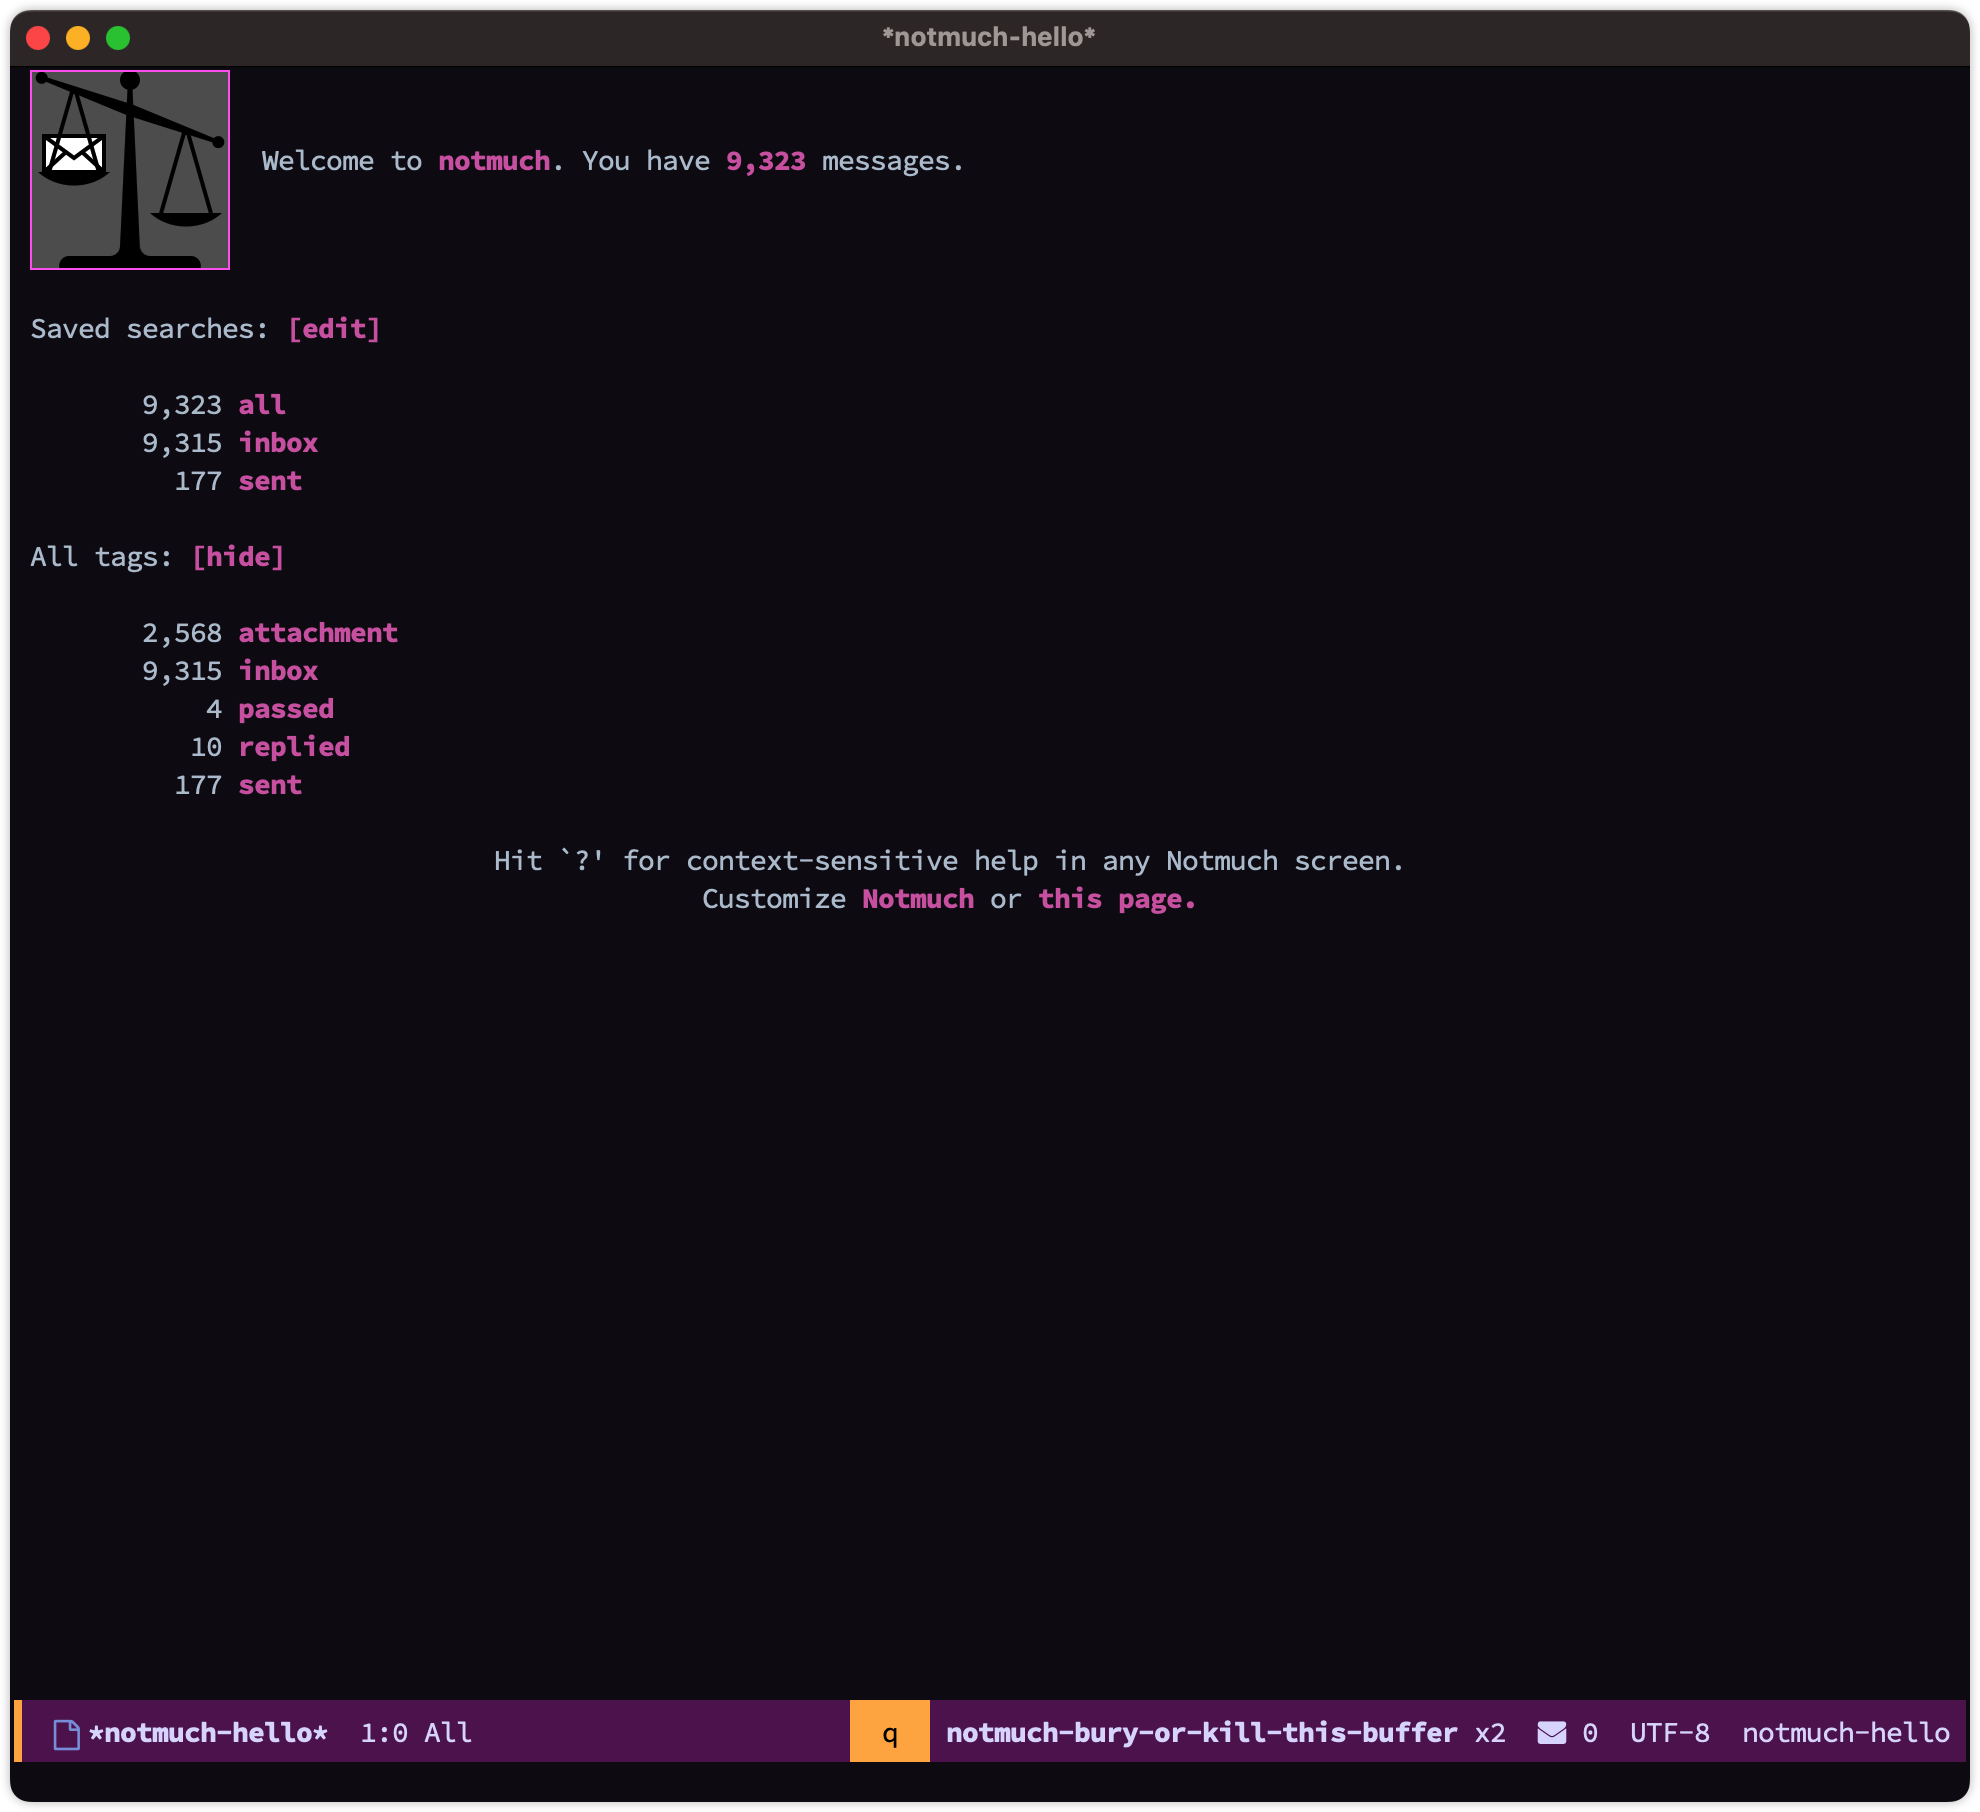
6 notmuch在Emacs里的使用 🔗
我们安装配置完 notmuch 后,可以通过 M-x notmuch 来打开它:
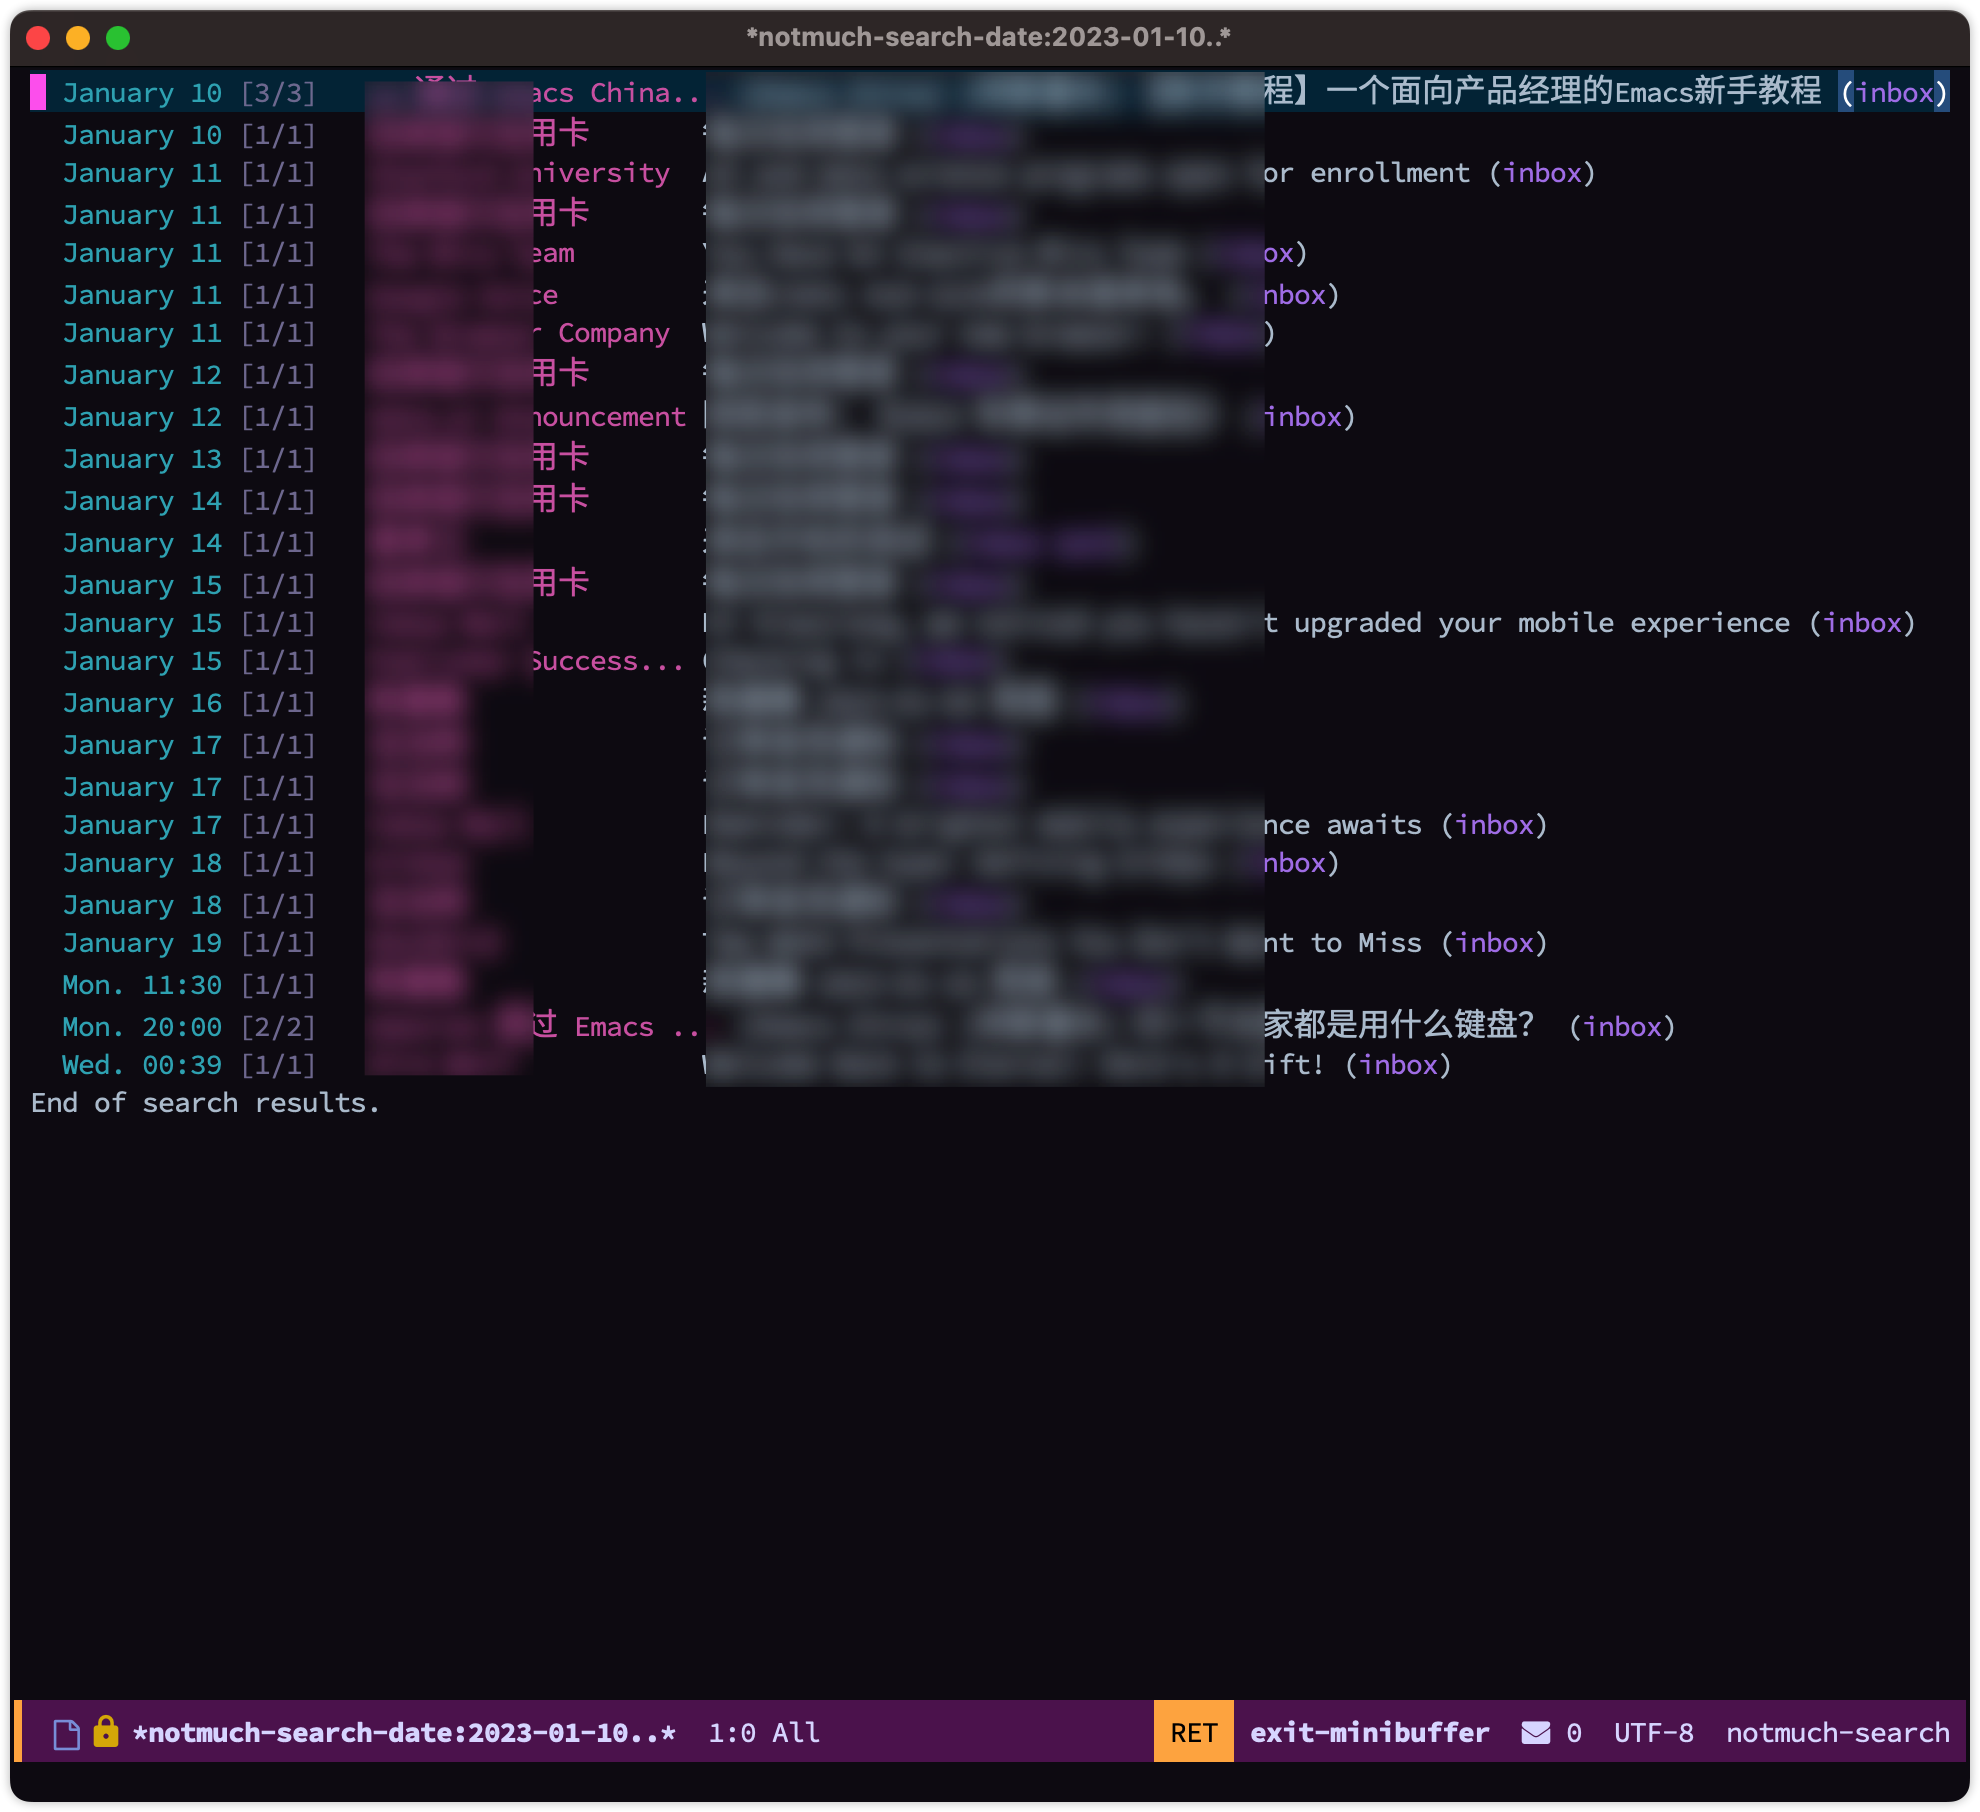
6.1 搜索邮件 🔗
在 notmuch 里搜索邮件非常简单,直接按下 s (notmuch-search) 然后输入相关的选项,如:
6.1.1 搜索2023年1月10日以来的邮件 🔗

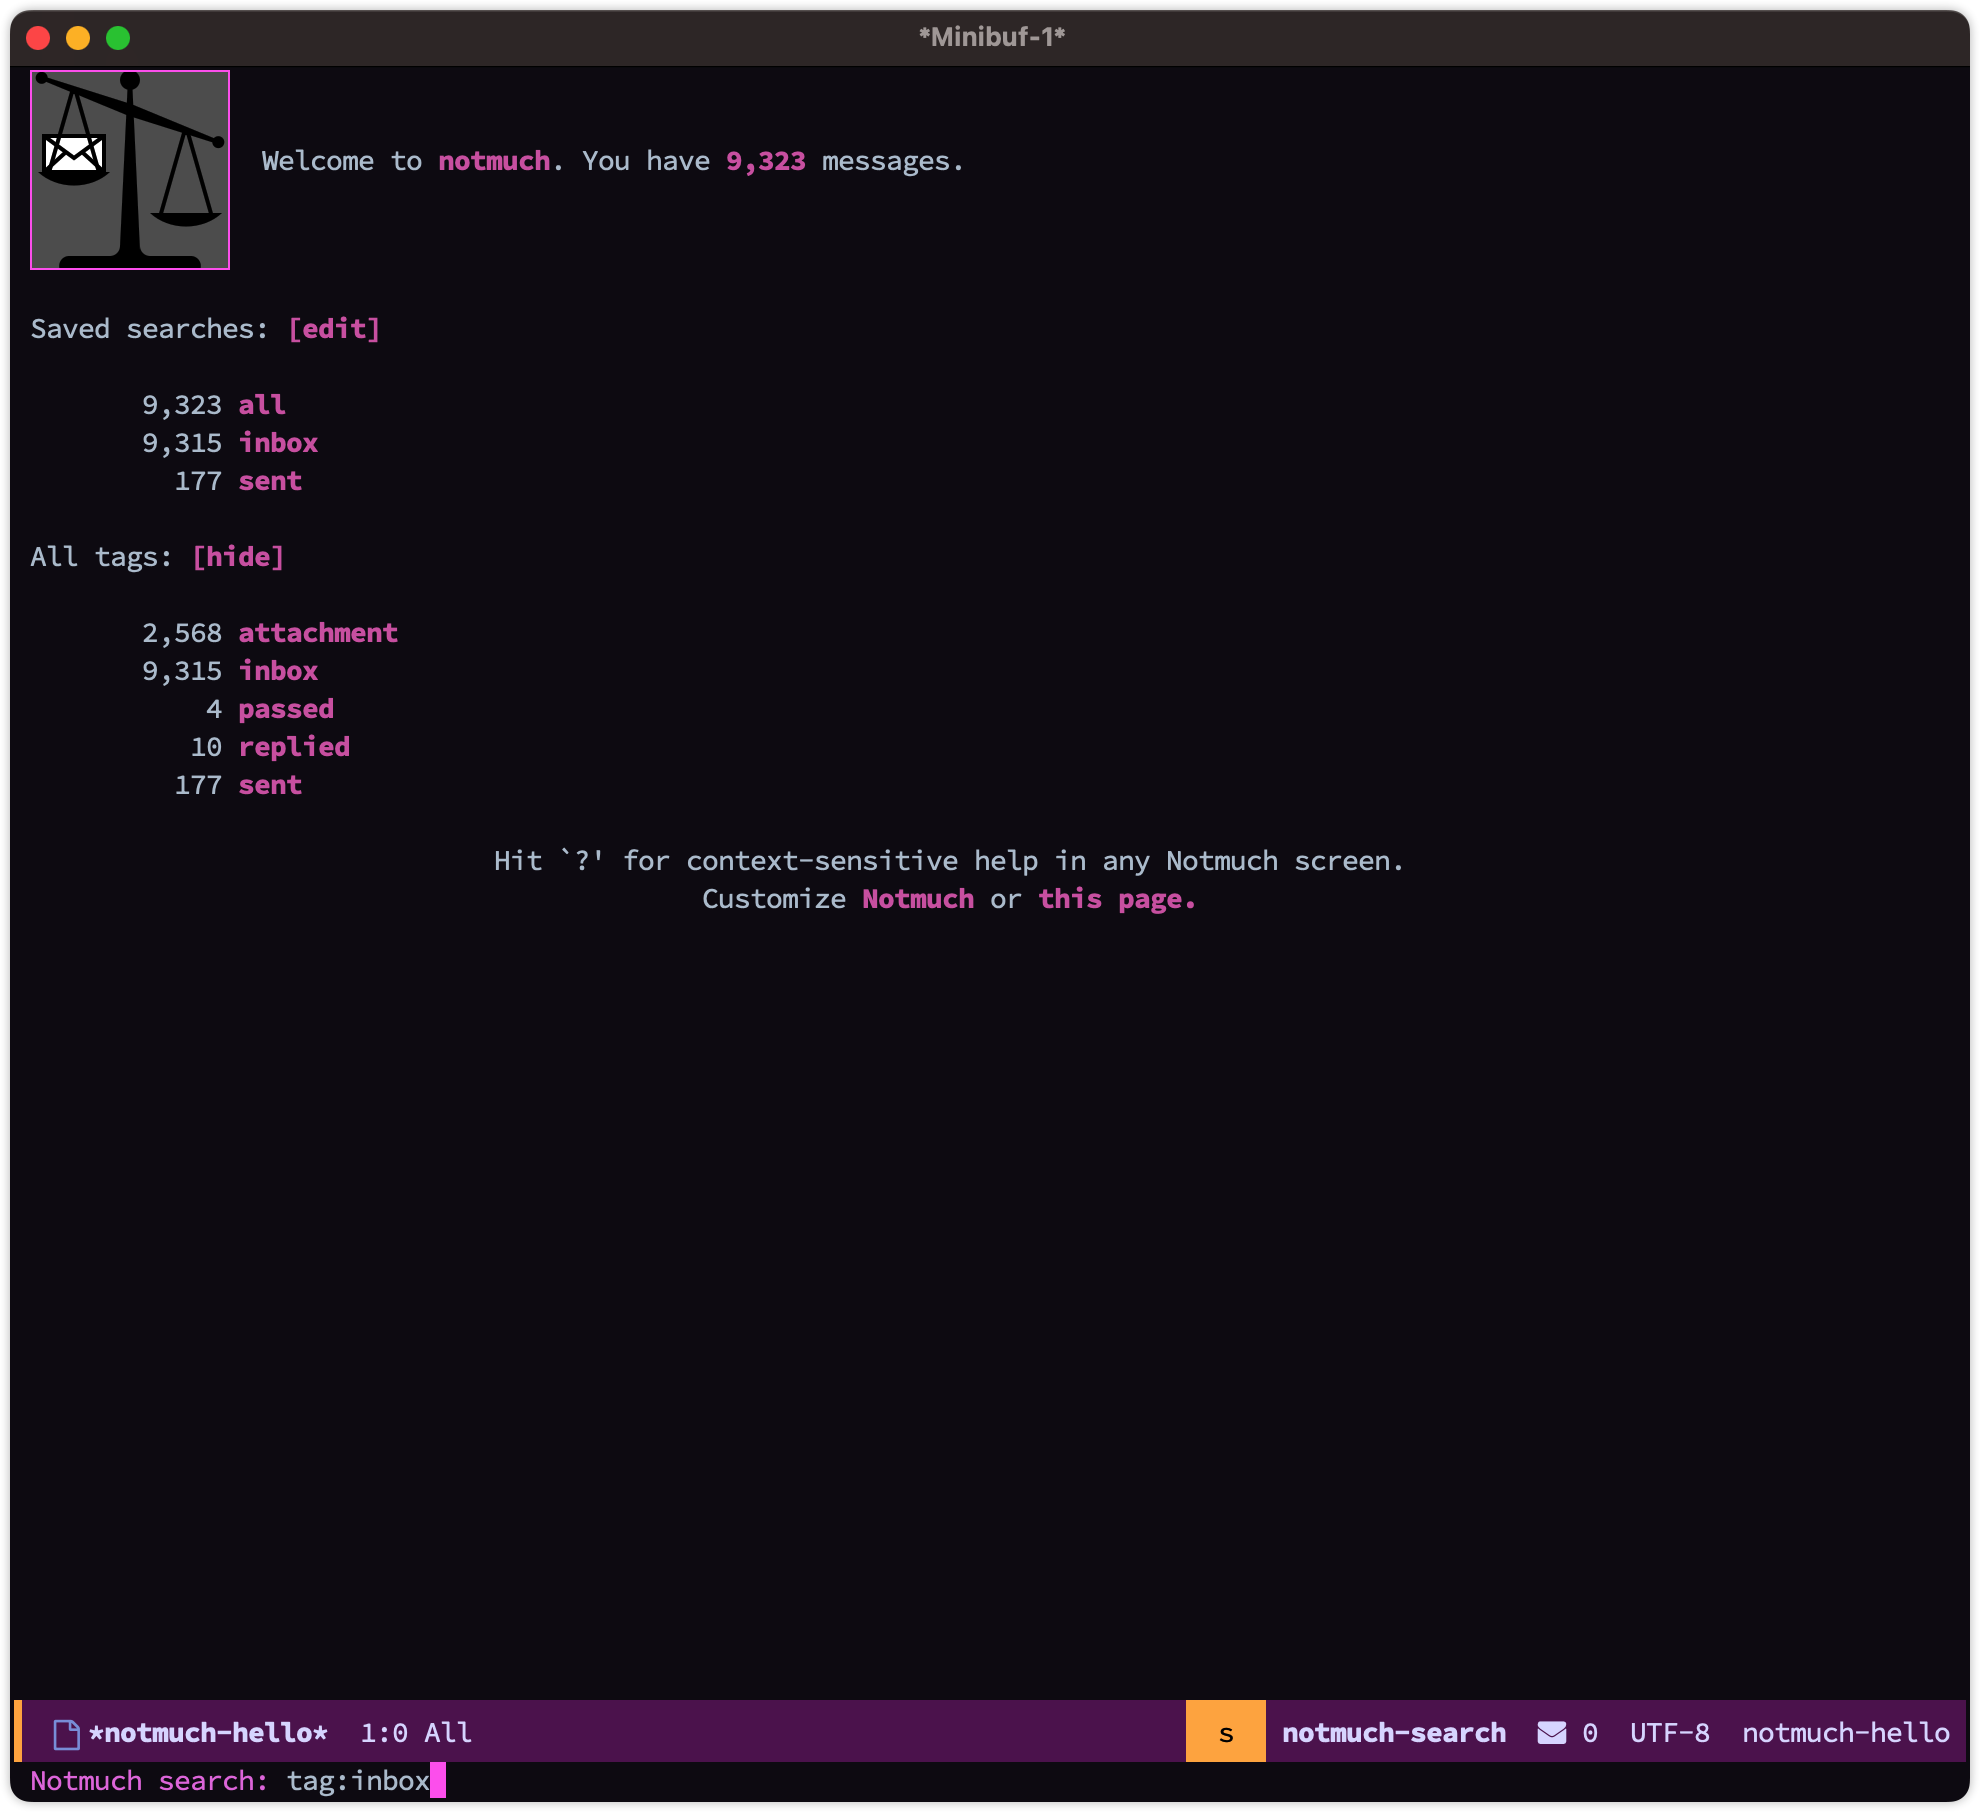
6.1.2 搜索标签为inbox的邮件 🔗
6.1.3 搜索发件人是Github的邮件 🔗

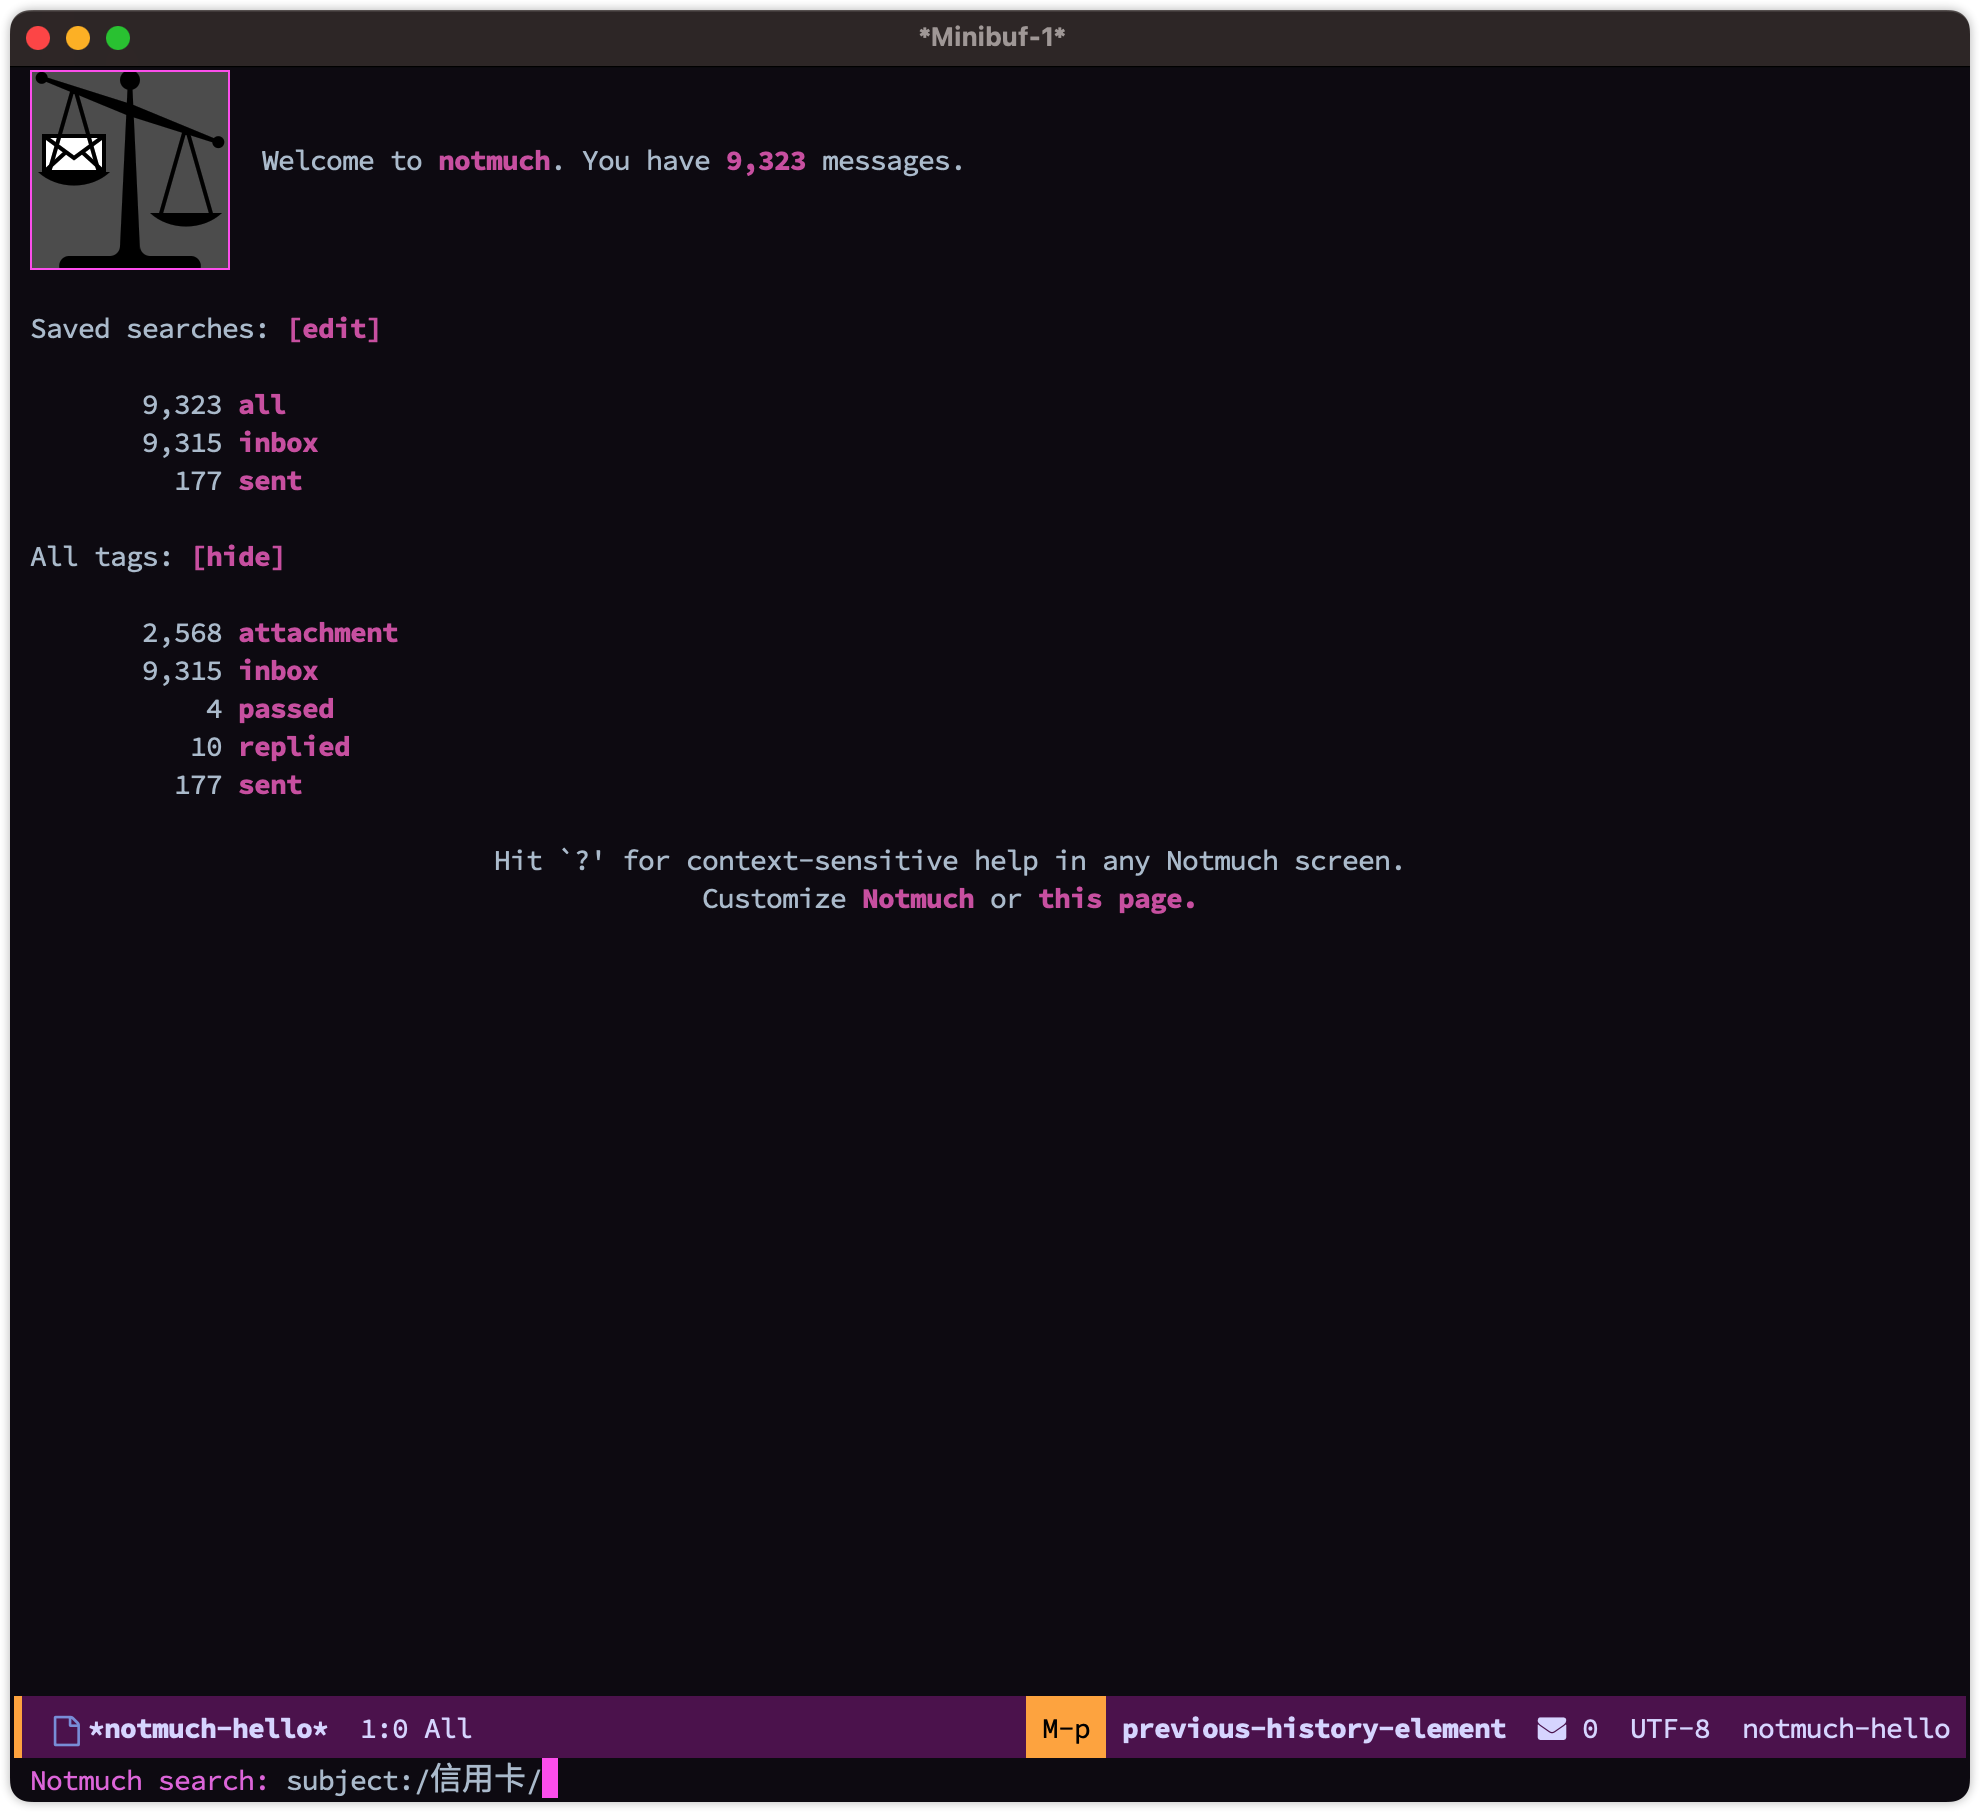
6.1.4 搜索邮件标题里含有信用卡的邮件 🔗
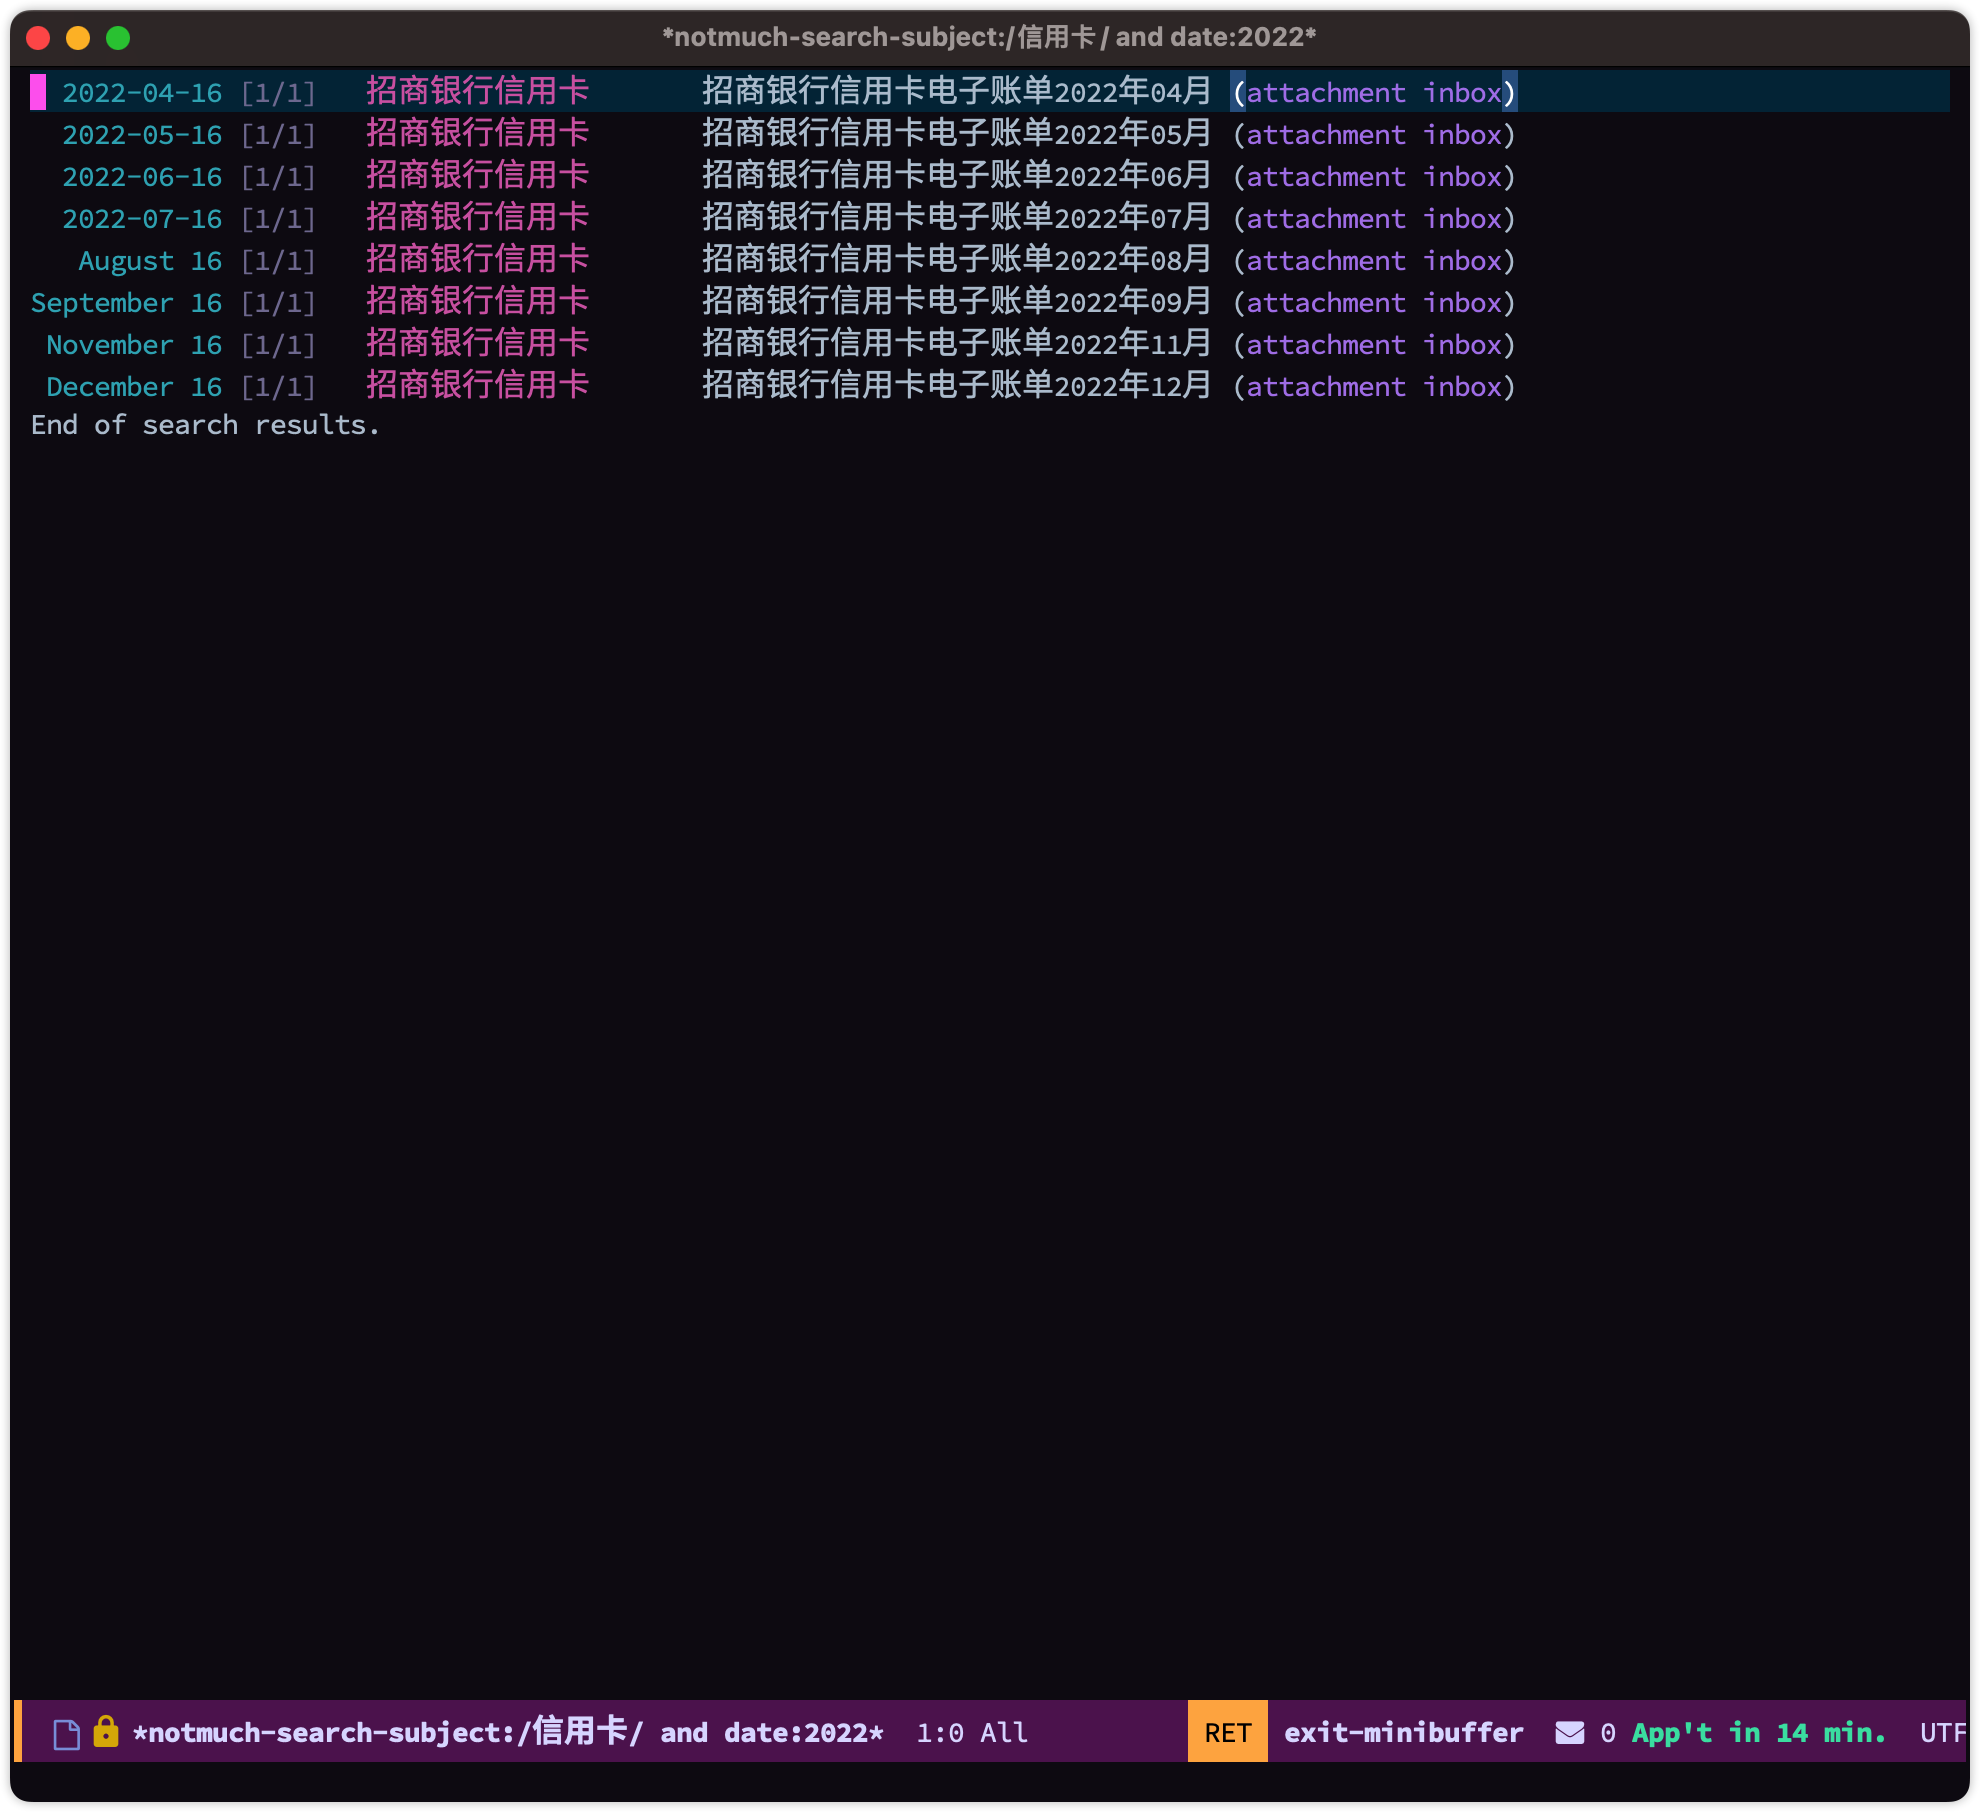
6.1.5 组合搜索 🔗
通过 and 和 or 进行组合搜索,如搜索2022年标题含有信用卡的邮件:

6.2 发送邮件 🔗
我们按下 C-x m (notmuch-mua-new-mail) 来启动发送邮件的界面,如下:
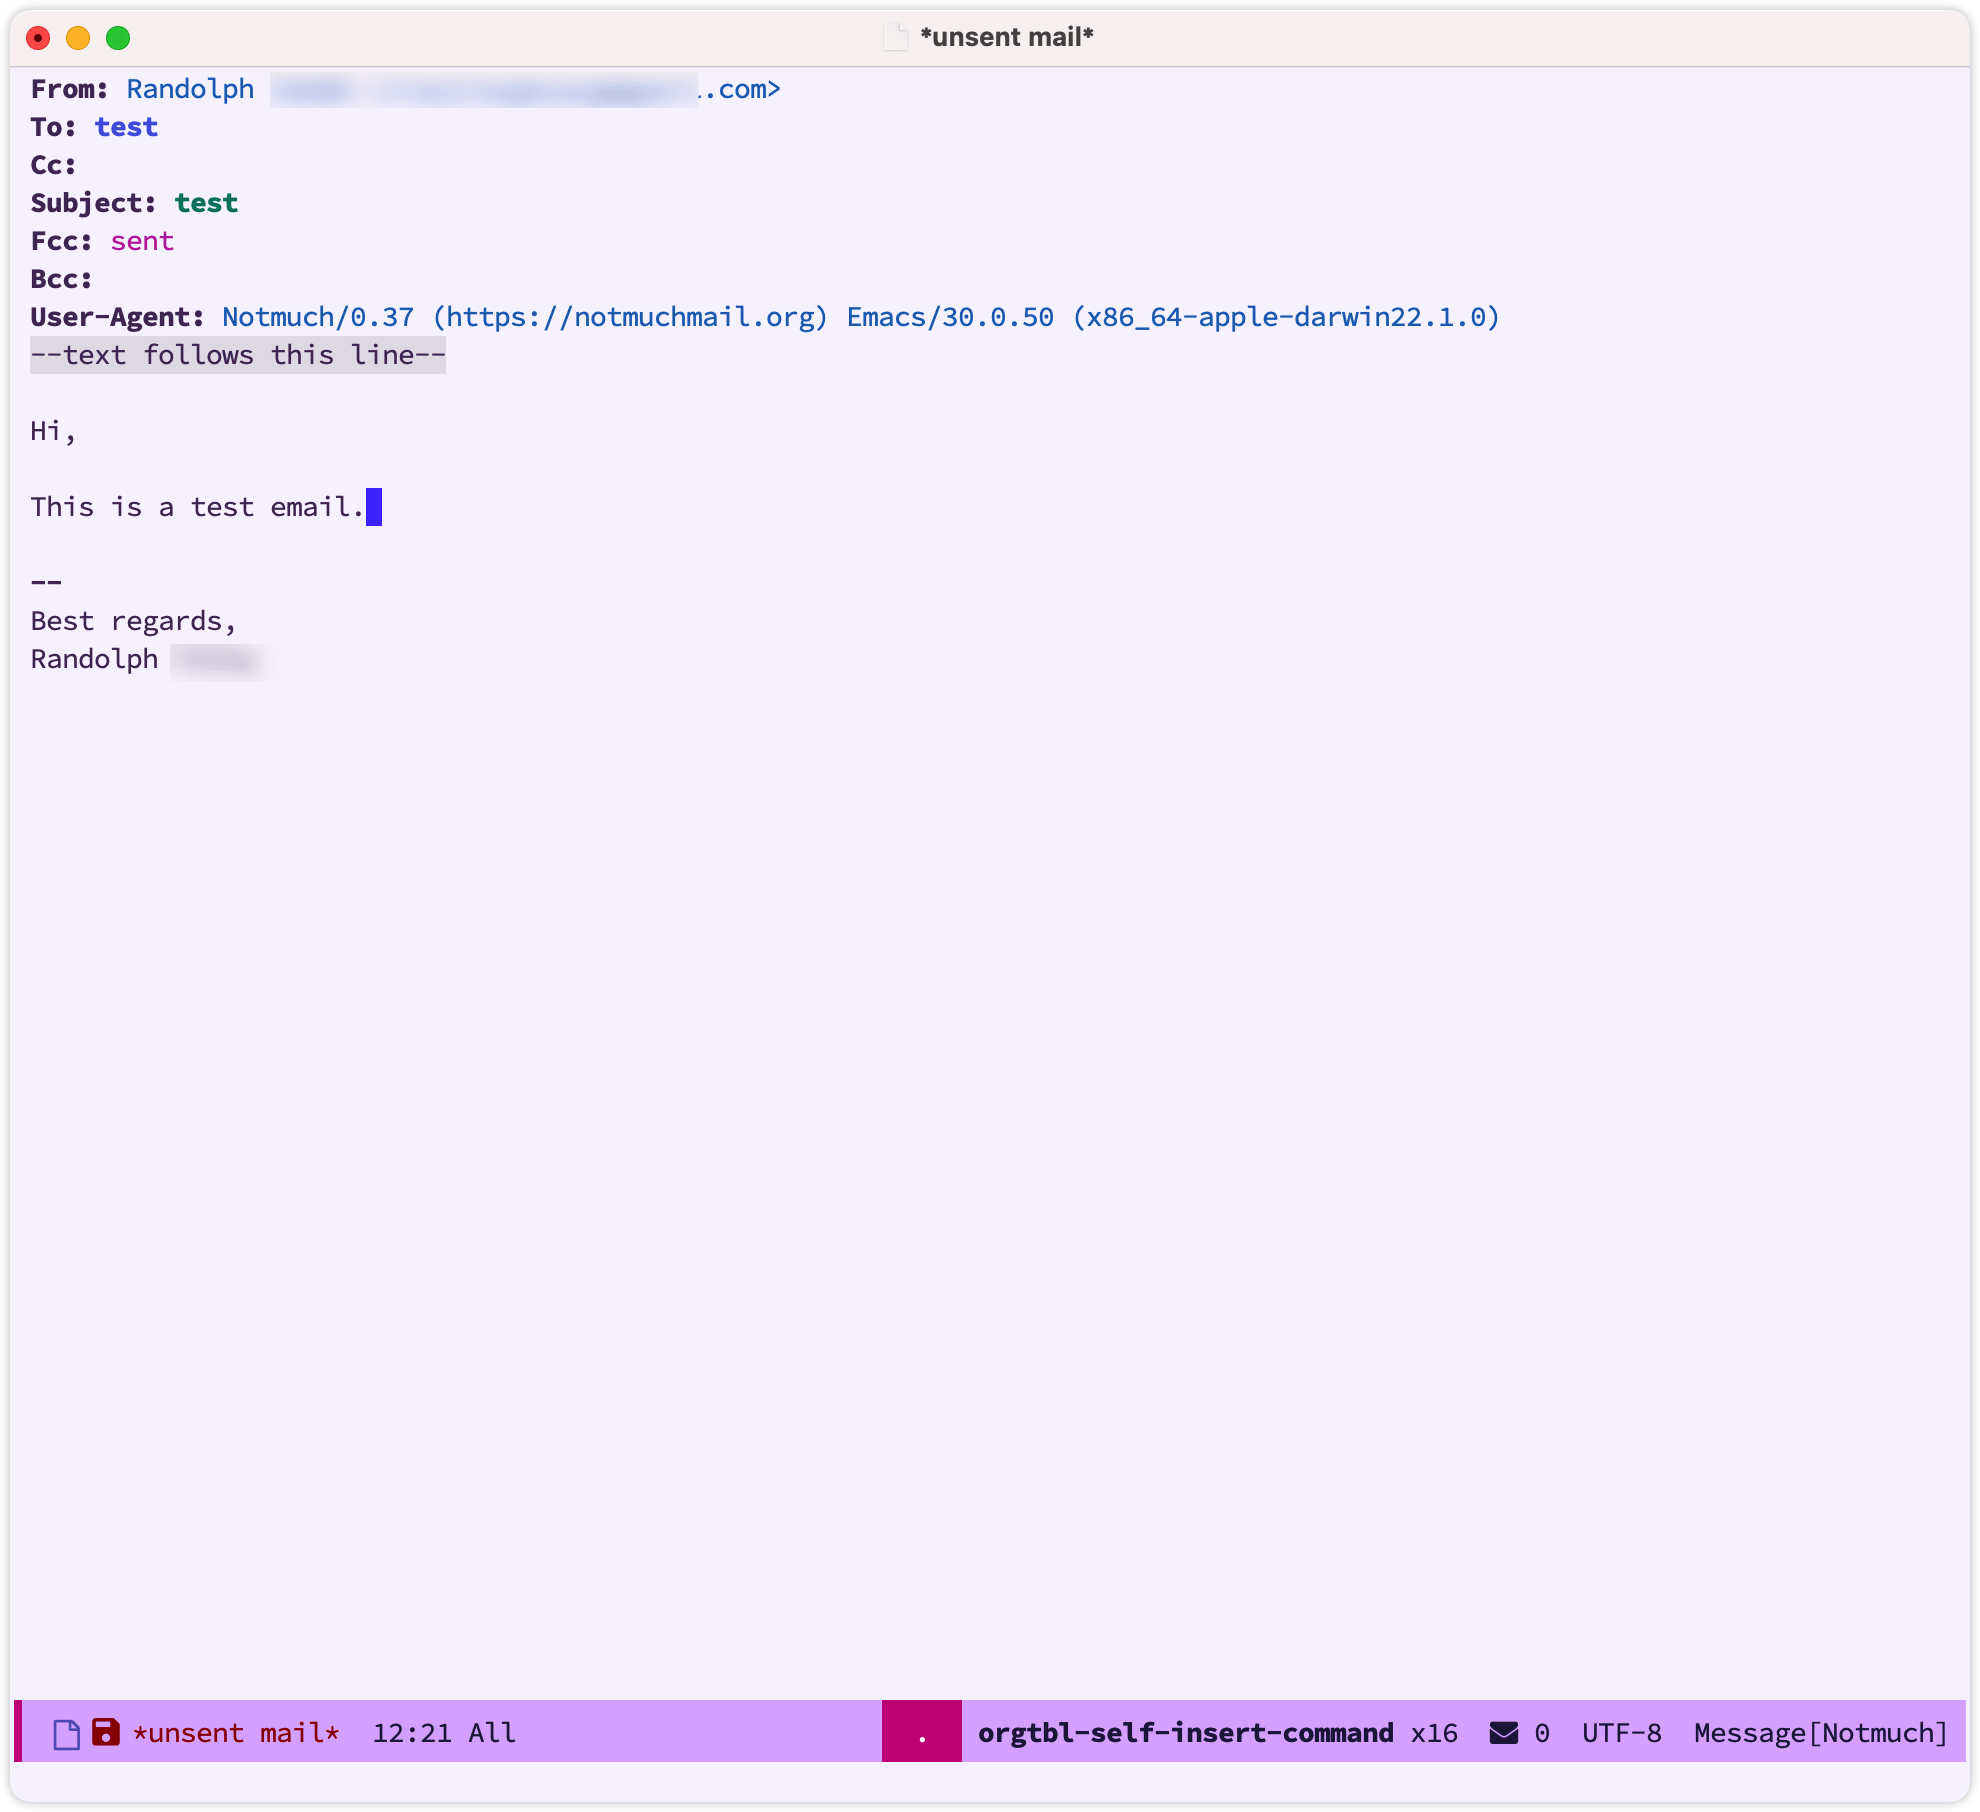
他会根据我们配置好的默认发送邮箱来发送邮件,填好收件人地址然后编写邮件正文,结束后按下 C-c C-c 发送即可,如果不想发送,也可以按下 C-c C-k 来放弃发送。
6.3 邮件系统通知 🔗
我们可以通过 notifications 包来实现新邮件的系统通知,这个包的设置我们已经在 第19课:通过Orgmode进行任务管理 - 系统级别的提醒设置 中有过讲解。基本原理是当 notmuch 刷新时检查新邮件的个数,如果有新邮件,就通过 notify-send 函数来进行提醒:
(use-package emacs
  :ensure nil
  :hook (notmuch-hello-refresh . notmuch-hello-refresh-status-message)
  :config
  (defvar notmuch-hello-refresh-count 0)
  (defun notmuch-hello-refresh-status-message ()
    (let* ((new-count
            (string-to-number
             (car (process-lines notmuch-command "count"))))
           (diff-count (- new-count notmuch-hello-refresh-count)))
      (cond
       ((= notmuch-hello-refresh-count 0)
        (progn
          (message "You have new messages.")
          (notify-send :title "Notmuch email"
                       :body (concat "You have " (notmuch-hello-nice-number new-count) " messages.")
                       :timeout 5
                       :urgency 'critical)
          ))
       ((> diff-count 0)
        (progn
          (message "You have new messages.")
          (notify-send :title "Notmuch email"
                       :body (concat "You have " (notmuch-hello-nice-number diff-count) " more messages since last refresh.")
                       :timeout 5
                       :urgency 'critical)
          ))
       ((< diff-count 0)
        (progn
          (message "You have new messages.")
          (notify-send :title "Notmuch email"
                       :body (concat "You have " (notmuch-hello-nice-number (- diff-count)) " fewer messages since last refresh.")
                       :timeout 5
                       :urgency 'critical)
          )))
      (setq notmuch-hello-refresh-count new-count)))
  )
7 结语 🔗
通过今天的学习,我们了解了如何在Emacs里进行邮件管理,通过Emacs强大的搜索和补全机制,在Emacs里处理邮件,有其独特的效率优势。
这节课的配置文件的快照见:emacs-config-l21.org
你也可以在 这里 查看最新的配置文件。